
Washer Installation: 8 Steps and Mistakes to Avoid
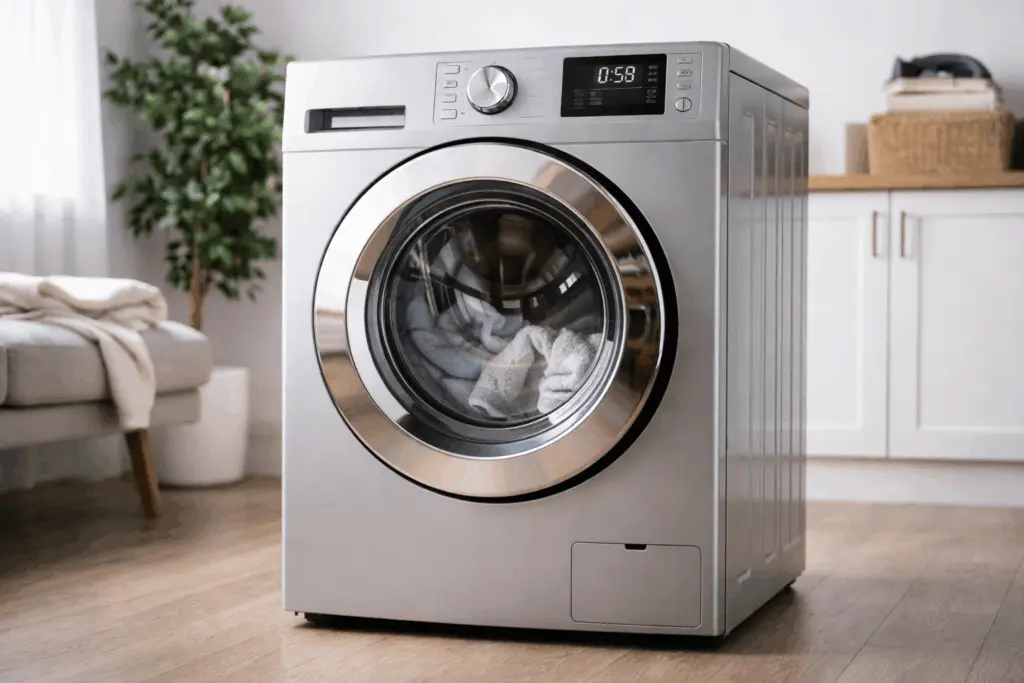
A good washer installation takes about an hour when the space is ready, and the problems that people blame on the washer later, such as shaking, leaks and slow draining, mostly begin here. This article covers eight steps, the mistakes that cause repair calls, a short checklist for before the machine arrives, and quick fixes for trouble in the first week.
Table of Contents
The difficulty is not in any single step of the job. It is in doing every step of the washer installation: remove the shipping bolts, connect good hoses, level the machine and set the drain properly. Skip one and the washer will tell you, usually loudly, which is why a careful washer installation matters more than the washer brand.
Before delivery: a pre-delivery checklist
Run through this washer installation checklist a day or two before the machine arrives. Ten minutes of measuring now prevents the most common delivery-day surprises.
- Measure the washer and the space, including the door swing, the hose clearance behind it and any shelf overhead.
- Measure the path from the door to the laundry area, and confirm the washer will turn each corner.
- Check that the hot and cold shutoff valves turn and do not drip.
- Check that the outlet is grounded and reachable. A washer should have its own grounded outlet and no extension cord.
- Check the drain: a standpipe or a laundry sink, and the height.
- Check the floor. It should be solid and level, with no soft spots from old leaks.
- Buy new hoses: braided stainless steel hoses are a better choice than the thin rubber ones.
Eight steps for a washer installation
These washer installation steps suit a standard freestanding washer. For a built-in, stacked or unusual unit, follow the maker’s sheet.
- Shut off the old washer’s water and power. Close both valves, unplug the machine, and disconnect the hoses over a bucket.
- Move the new washer close and remove the packaging. Take off the straps, foam and any tape on the lid or door.
- Remove the shipping bolts. They are on the back of the washer and held with a wrench. Fit the plastic plugs that come with the machine. Keep the bolts for a future move.
- Connect the water hoses. Attach hot to hot and cold to cold. Hand-tighten then give each fitting an extra quarter turn with pliers, with the rubber washer seated.
- Set up the drain. Hook the drain hose into the standpipe or sink with the loop at the top, and leave an air gap so the pipe does not siphon.
- Slide the washer into place and level it. Adjust the feet until the machine does not rock when you push on the corners. Use a level on top. Tighten the lock nuts on the feet.
- Plug in and run a test cycle. Run a short, empty cycle with a cup of detergent or the machine’s cleaning cycle. Watch the hoses and the drain for leaks.
- Check and finish. Look for leaks after the first fill and again after the drain. Run a second cycle and confirm no vibration or noise.
Washer installation mistakes that cause repair calls
The most common washer installation mistakes are easy to avoid once you know them. Leaving the shipping bolts in is number one, and it can damage the drum suspension on the first spin. Reusing old, brittle rubber hoses is next, since a burst hose floods a laundry room fast. Others include pushing the washer against the wall and crushing the hoses, skipping the leveling, shoving the drain hose too far into the standpipe so it siphons, and plugging into an extension cord.
A smaller mistake is to leave the hose washers out of the fittings, which causes drips that look like a bad valve. Check each fitting for the flat rubber washer before you tighten.
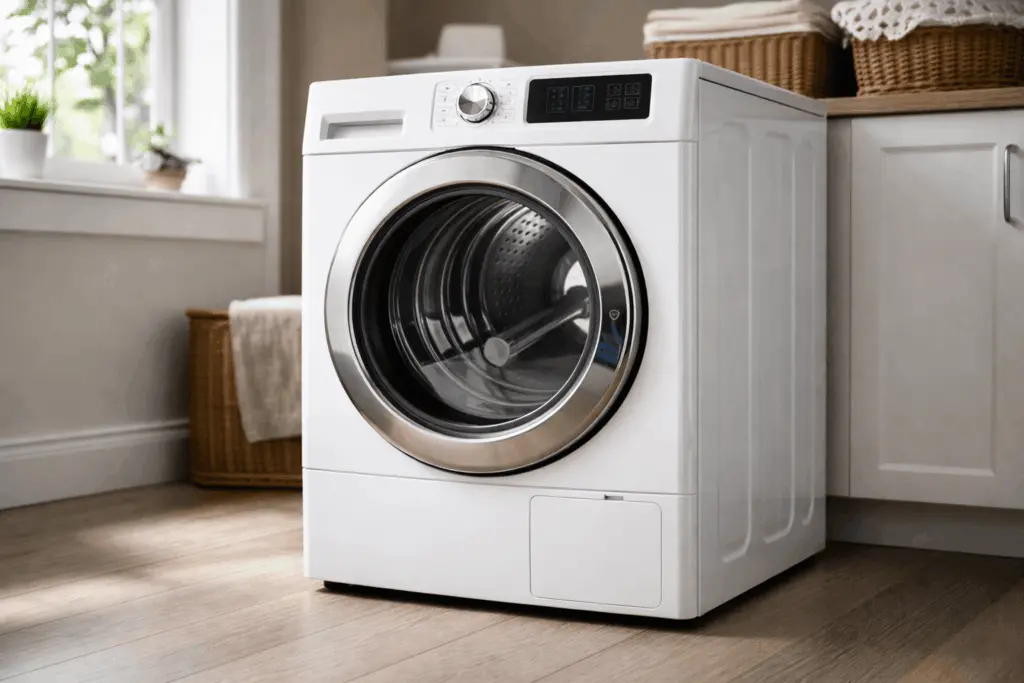
Stacking kits, dryers and tight spaces in a washer installation
If you plan to stack a dryer on a front-loader, use the maker’s kit. It holds the dryer in place, and an improvised stack can fall during a spin. Both machines must be a compatible pair. Allow room for the dryer vent, and see our dryer installation article for that side. In a closet, leave a few inches for the hoses and for air movement, and check that the door can open fully.
In a tight space, such as a hall closet in an older home, take extra care over hose clearance and the vent path. Test the fit with the old washer still in place if you can, and measure the doorway with the door removed from its hinges if the opening is narrow.
Common problems after washer installation
- Shaking or walking: the washer is not level, the shipping bolts are in, or the load is unbalanced. Level the feet and check the bolts.
- Water leaking at the back: a loose hose fitting or a missing rubber washer. Turn off the water, tighten gently and replace the washer.
- Slow draining or overflow at the standpipe: the hose is pushed in too far, or the standpipe is too small or partly blocked.
- Error code on the first cycle: often a water inlet or door problem. Check that both valves are open and the door closes fully.
- A musty smell: a front-loader that is kept closed. Leave the door ajar and run a cleaning cycle.
Safety rules and when to hire help for washer installation
Unplug the old washer, and shut the water before you disconnect hoses. Keep the outlet dry and keep water off the floor around it. Never touch a gas line or gas valve, and if you smell gas near a gas dryer, leave the home and call the gas utility from outside. Washers are heavy: lift with a helper and a hand truck, and keep your back straight.
Stop the washer installation and call a professional if the shutoff valves leak or will not close, the outlet is damaged or ungrounded, the drain is too low or too small, there is no space for the hoses, or the machine will not run after a correct set-up. A washer installation that needs new plumbing or a new circuit should be done by a plumber or an electrician, not by trial and error.
Our washer repair page covers service on the brands we work on, and our technician comes to homes in West Sacramento and Sacramento. To keep the new machine trouble-free, see washer maintenance. For efficiency details when you are choosing a washer, ENERGY STAR lists clothes washers.
If you would like help with the hookup, book a visit; our service call is $80.
Common questions
Do I need to remove the shipping bolts on a new washer?
Yes, on most front-load washers and some top-loads. They hold the drum steady in transit and must come out before the first wash, or the machine will shake badly and can be damaged. Keep them in case you move.
How high should the washer drain hose be?
Most manuals call for the drain standpipe to be roughly 30 to 96 inches above the floor, with the hose looped at the top to stop siphoning. Check your manual for the range, and do not push the hose all the way down the pipe.
Can I stack a washer and dryer myself?
You can if you use the maker stacking kit and a helper, but it is a heavy job and requires both machines to be compatible. If you are unsure or have a narrow space, an installer is the safer choice.
Related guides
Dishwasher Leaking? 7 Places to Check and Fix
A leaking dishwasher usually comes from one of seven spots. The dry-towel test tells you which one, and a few signs tell you when…
Dishwasher Not Working? 6 Signs You Need Repair
Not starting, not draining, not cleaning or too loud: here are the home tests for each, and six clear signs that it is time…
Dishwasher Installation: 7 Steps and Warning Signs
A good dishwasher installation comes down to power, water in, water out and a level tub. Here are the seven steps and the signs…