
Dishwasher Installation: 7 Steps and Warning Signs
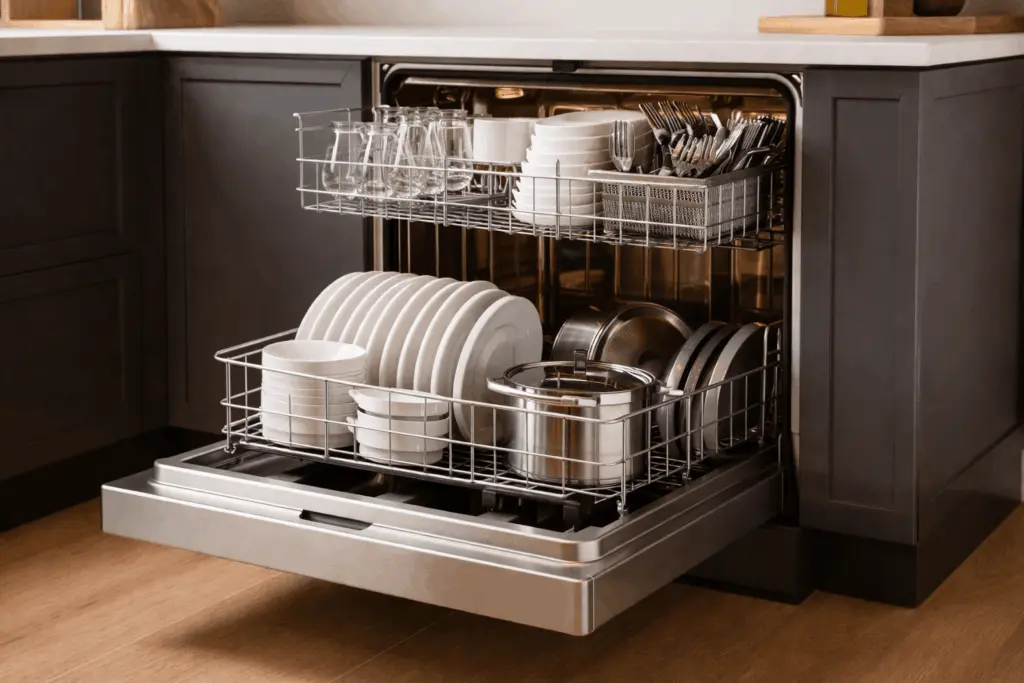
Dishwasher installation is three connections and a level machine: power, water in and water out. Get all three right and the dishwasher runs quietly and drains clean. Get one wrong and you meet the usual symptoms: a leak under the sink, a drain that backs up, or a cycle that never starts.
Table of Contents
This article walks through the seven steps in the order they happen, then lists the warning signs of a poor install. Always follow the instruction sheet that came with your model, because dimensions and cutout sizes vary.
Before dishwasher installation: space, power and water
For any dishwasher installation, measure the opening width, height and depth against the new dishwasher’s specification sheet. Check the floor and the underside of the countertop for room to tilt the machine in. Look under the sink and note where the hot water supply valve, the drain line and a power source are.
Power is usually a dedicated 120-volt circuit, and the dishwasher is either hardwired through a junction box or plugged into an outlet in the cabinet beside it. The water supply is hot, through a small shutoff valve and a braided or copper line. The drain is a hose that connects to the disposal or a sink tailpiece. The details differ by house, and your local code decides the rest, so look at what is behind the old machine before you buy the new one. Take a photo of the connections under the sink before you disconnect anything, since it helps you put the lines back in the same order. If any of them is missing, the dishwasher installation becomes a plumbing or electrical job first.
The 7 steps of a dishwasher installation
- Turn off the power and the water. Switch off the breaker, confirm the old machine is dead, and close the hot water shutoff under the sink. Place a towel and a shallow pan under the connections.
- Disconnect the old machine. Unscrew the mounting brackets from the countertop, disconnect the supply line, the drain hose and the wiring, then slide it out carefully. Mop up the water that spills from the lines.
- Prepare the new machine. Attach the elbow for the water inlet, fit the drain hose if it is not preattached, and feed the power cable through the strain relief. Check that the door and the racks move freely.
- Make the electrical connection. Join the wires with approved connectors inside the junction cover, or plug in the cord if the machine uses one. Match black to black, white to white, and attach the ground. Close the cover and the strain relief.
- Connect the water supply. Use a new supply line. Tighten the compression fittings by hand and a little more with a wrench. Over-tightening splits the ferrule and causes a slow drip.
- Connect the drain with a high loop or an air gap. The drain hose must rise to the underside of the countertop in a loop, or go through an air gap, before it reaches the disposal or tailpiece. This stops dirty sink water from siphoning back. Remove the knockout plug in a new disposal inlet first.
- Level, secure and test. Adjust the feet so the tub is level in both directions, then fasten the machine to the underside of the countertop or the side of the cabinet. Open the water, restore the power and run a full cycle with the towels in place.
The details that decide whether a dishwasher installation lasts
Two things are missed more than anything else in a home dishwasher installation, and both are cheap to fix at the start. The first is the knockout plug in the disposal: if it remains, the dishwasher cannot drain. The second is the high loop: without it the machine may drain well on day one and let sink water back into the tub later. Tie the hose up with the clip supplied, and do not leave it lying on the cabinet floor.
Also check the finished dishwasher installation for pinched lines, and run your hand along the supply line to feel for damp spots. A kinked drain hose behind the machine is the most common reason for a new dishwasher that will not empty.
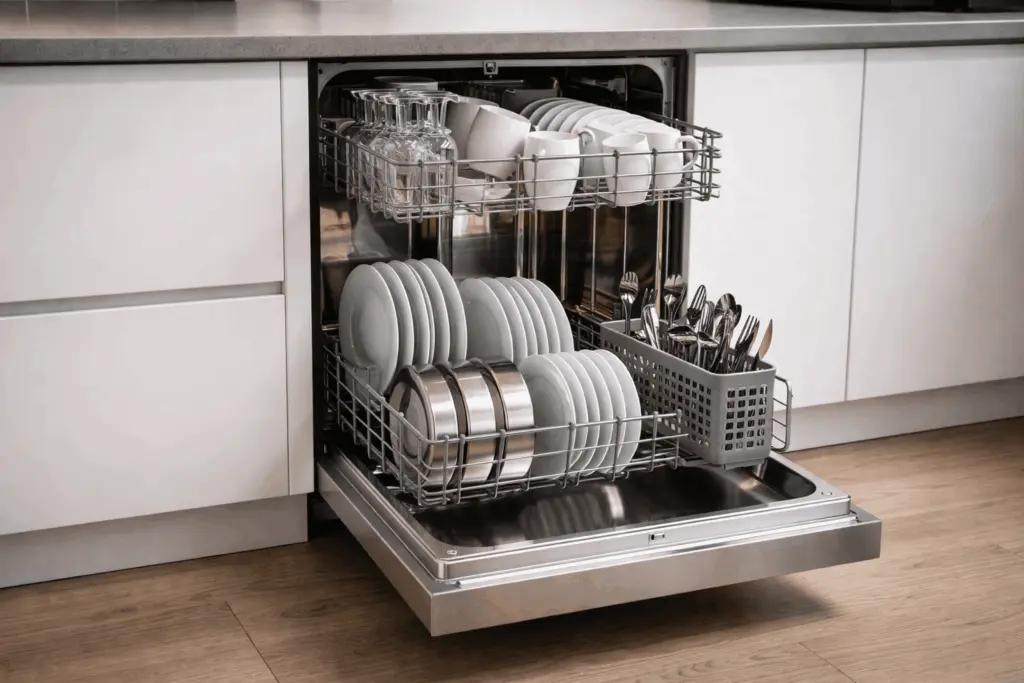
Signs of an incorrect dishwasher installation
Watch the first few cycles after a dishwasher installation. These are the signs that something needs adjusting:
- A puddle at the front or under the sink: a loose fitting, a bad gasket seat or an unseated supply line. See our dishwasher leaking article for the dry-towel test.
- Standing water in the tub: a kinked hose, the disposal plug left in, or a hose with no high loop.
- Gurgling from the sink after a cycle: an air gap issue or a partially blocked drain.
- The door does not latch or springs back: the machine is not level or is too far forward.
- Shaking, rattling or a loud hum: the feet are not set, or a hose is touching the motor housing.
- The cycle does not start: a loose wire or the door switch is not aligned.
- Dishes still dirty or wet: low water temperature, a restricted inlet or low pressure at the supply.
If one of those appears, switch off the breaker and close the supply valve until you find the cause.
When a pro is needed for dishwasher installation
You will want a qualified professional if there is no outlet or junction box, if the existing wiring is old, cloth-covered or damaged, if the supply line is corroded, if the shutoff valve will not turn, or if the drain needs a new air gap cut into the counter. Those are electrical or plumbing jobs. In a dishwasher installation, a new circuit or a plumbing change belongs to the right trade, not an appliance helper.
We install dishwashers for homeowners, landlords and property managers in West Sacramento, Sacramento, Davis and the nearby towns. Our technician arrives in a marked vehicle, offers to wear shoe covers, and carries the tools and schematics for the job. See our dishwasher repair page for the related work.
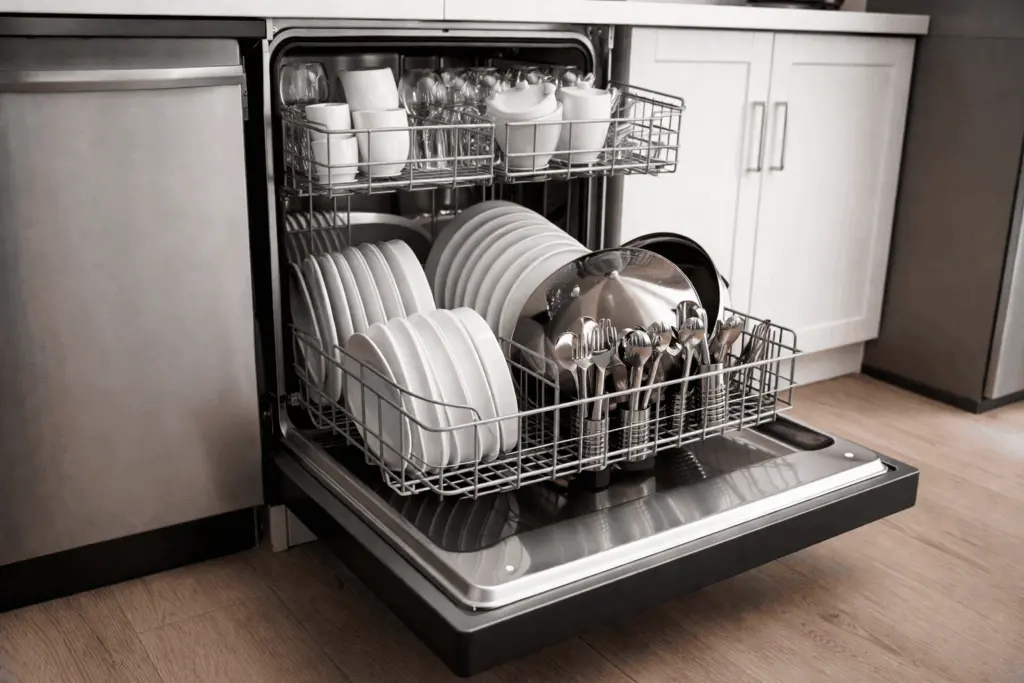
Stop and call us during a dishwasher installation if
Stop and get help if you find water in the junction box, a smell of burning at the connections, a breaker that trips when the machine runs, a supply line that weeps even after a gentle retightening, or a cracked tub or fitting. Never power the machine on with exposed wiring or with the junction cover off. Never use a floating cord or a worn extension cord for a dishwasher.
A tidy dishwasher installation also helps the machine last. Once it is in, keep the filter and spray arms clean as outlined in dishwasher maintenance. For the efficiency side of buying a new unit, ENERGY STAR’s dishwasher page lists what to compare.
If you want us to look at a dishwasher installation, or a new machine that is not behaving, you can book a visit. The service call is $80.
Common questions
Do I need an air gap for a dishwasher?
It depends on local code. Some areas require an air gap fitting at the sink, while many accept a high loop in the drain hose raised to the underside of the countertop. Check your local requirements before you connect the drain.
Why won't my new dishwasher drain?
The most common causes are a knockout plug still in the disposal inlet, a kinked drain hose behind the machine, or a clogged air gap. Check those three before assuming the pump is faulty.
Can I install a dishwasher without a plumber or electrician?
A like-for-like swap with existing connections is manageable for many people. If you need a new outlet, new wiring, a new supply valve or a drain change, hire the proper trade for that part.
Related guides
Dishwasher Leaking? 7 Places to Check and Fix
A leaking dishwasher usually comes from one of seven spots. The dry-towel test tells you which one, and a few signs tell you when…
Dishwasher Not Working? 6 Signs You Need Repair
Not starting, not draining, not cleaning or too loud: here are the home tests for each, and six clear signs that it is time…
Dishwasher Not Drying? 6 Reasons and Fixes
Wet dishes at the end of a cycle usually come from settings, rinse aid or loading, and sometimes from a heating element. Here is…