
Dryer Installation: 7 Steps to Hook Up a New Dryer
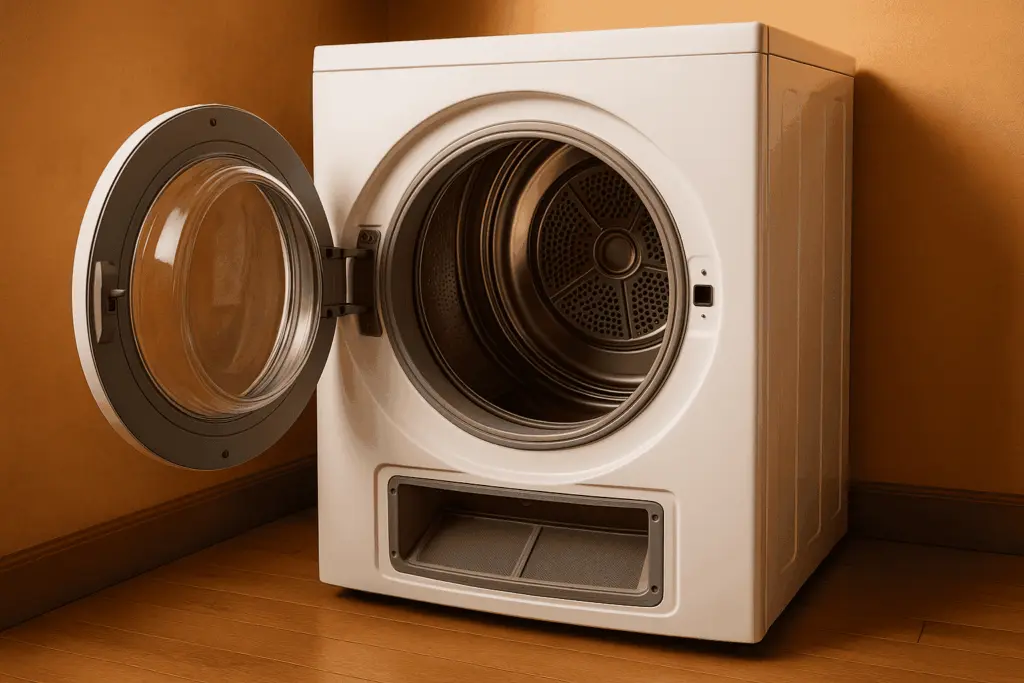
Dryer installation looks like a one-hour job, and for a straight swap it often is. What turns it into a headache is the part you cannot see from the showroom: the outlet, the gas connection and the duct behind the wall. This article walks through each of them so you know what to check before the new machine arrives.
Table of Contents
Keep the new dryer’s installation sheet next to you while you follow this dryer installation guide. Where the two disagree, the manufacturer’s sheet wins, because limits on duct length and clearances differ by model.
Gas or electric: settle this before delivery day
Electric dryers need a dedicated 240-volt circuit. Gas dryers need a gas shutoff valve within reach and a standard 120-volt outlet for the drum motor and controls. A gas model cannot be plugged into an electric outlet, and an electric model cannot run on gas, so match the new dryer to what is already in the laundry room. Getting that match right is the first job in any dryer installation.
If you are switching fuels, treat that as a construction job rather than a simple dryer installation. Adding a 240-volt circuit means an electrician and a panel with room. Adding a gas stub means a qualified gas professional and a pressure test. Neither is a weekend task, and a gas line is never a do-it-yourself project.
The 7 steps of a clean dryer installation
This is the order we would follow for a dryer installation that swaps like for like.
- Measure the path and the space. Check doorways, turns and the gap behind the dryer. Leave room for the duct elbow so the dryer is not crushing it against the wall. Many manuals ask for a few inches behind the cabinet and clear space around the sides.
- Turn off power and, for gas, the gas. Switch off the breaker for the old dryer. Close the gas valve by turning the handle so it sits across the pipe, then unplug the cord.
- Disconnect and clean out the old duct. Pull the duct off the dryer and the wall. Vacuum the lint out of the duct, the wall opening and the area behind the dryer. Look at the outside hood while you are at it.
- Connect the power. On an electric model, attach the cord or confirm it matches the outlet (see the next section). Tighten the terminal screws and fit the strain relief.
- Connect the gas (gas models). Use a new flexible gas connector made for appliances, plus pipe-thread sealant rated for gas if the manual calls for it. This step is for a qualified professional. Do not reuse a corroded or kinked connector.
- Connect the vent. Use rigid or semi-rigid metal duct, sealed at the joints with foil tape rather than screws. Point the male end of each section in the direction of airflow.
- Level, push back and test. Turn the feet until the dryer sits solid with no rocking, slide it into place without crushing the duct, then run a heat cycle and check airflow at the outside hood.
3-prong or 4-prong: the cord is part of dryer installation
Many dryers are sold without a power cord, so the cord is a separate purchase. Current practice for a new dryer installation is a 4-prong cord, which has separate neutral and ground wires and matches a 4-slot outlet. Older homes often have a 3-prong outlet, where neutral and ground share one conductor. Some dryers allow you to install a 3-prong cord by moving the ground strap, and the installation sheet shows how.
The one thing to avoid is cutting off a plug or changing the cord type to fit an outlet without reading the sheet. A wrong neutral-ground connection can put current on the cabinet. If the outlet type is unclear, or the outlet looks scorched, loose or warm, have an electrician look at it first.
Venting length and material decide how well it dries
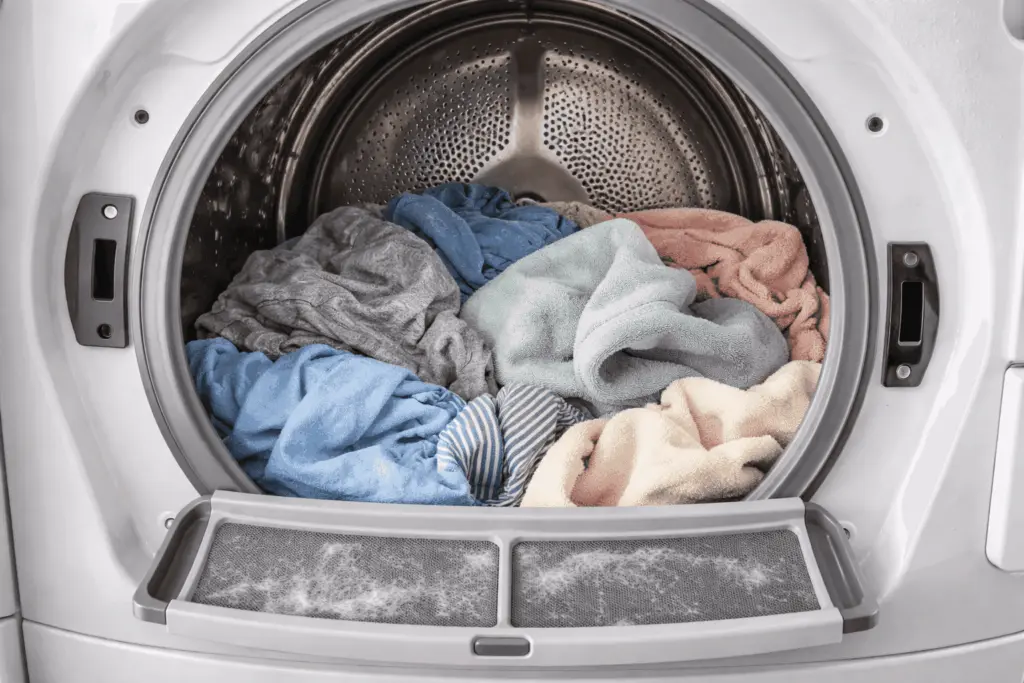
The duct is where most dryer installation mistakes happen. Use a rigid or semi-rigid metal duct, usually four inches in diameter. Avoid white vinyl or thin foil accordion duct. It sags, traps lint in the ridges and can burn. The NFPA report on home dryer fires lists failure to clean as the leading cause, which is a good reason to make the duct short and smooth from day one.
Keep the run as short and straight as you can, since a short duct is the cheapest upgrade to any dryer installation. Manufacturers publish limits and the numbers matter. Manufacturers publish a maximum length for each model, and every elbow subtracts from it. Do not run the duct into an attic, crawl space or garage, because moist air and lint will collect there. The vent should end at an outside hood with a flap and no screen over the opening.
If your laundry sits in the middle of the house with a long run to the wall, ask for a straight path rather than stacking elbows. A shorter duct dries faster and cleans more easily. Our guide to dryer fire prevention explains how often to clean it.
Gas leak check after the connection
After any gas connection, open the shutoff valve slowly and brush soapy water onto each joint. Growing bubbles mean a leak. Close the valve and do not run the dryer. If you ever smell gas, leave the house, avoid switches and flames, and call your gas utility from outside. Do not try to tighten fittings while the gas is on.
This is why gas dryer installation belongs with a qualified professional. A soapy-water test is a check, not a replacement for someone who is trained to do the work.
When to bring in a pro for dryer installation
Call a professional for your dryer installation if any of the following apply:
- You are converting from electric to gas, or the other way round.
- The outlet is damaged, discoloured or does not match the cord.
- The gas connector or valve is old, corroded or stiff.
- The duct runs through a wall that you cannot reach, or is longer than the dryer’s limit.
- A previous owner used vinyl or foil duct that is stuck inside the wall.
We install dryers in West Sacramento, Sacramento and the other towns we serve. Our technician arrives in a marked service vehicle and can offer shoe covers inside your home. Gas-line and panel work belong to other trades.
Signs the dryer installation was not done right
Watch for these in the first few loads after a dryer installation. A little vibration is normal; a wandering cabinet is not. Clothes take more than one cycle, the laundry room feels humid, the dryer vibrates or walks, the outside hood barely moves, or the top of the dryer gets very hot. Each one is a hint that the vent, the leveling or the connection needs another look. If heating stops altogether, work through our checklist for a dryer not heating.
If you would like us to hook up your new machine or check an existing connection, you can book a visit. The service call is $80, and you can ask about payment when you book.

Common questions
Can I install a gas dryer myself?
Moving the machine and fitting the vent are within reach for many people. The gas connector and leak test are better left to a qualified professional, since a faulty joint is a safety risk that you cannot easily see.
Does a new dryer come with a power cord?
Often it does not. Many models ship without one so the installer can choose a 3-prong or 4-prong cord to match the outlet. Check the box and the installation sheet before delivery day.
How long can the dryer vent be?
Each model has its own limit, listed in the installation sheet, and every elbow shortens the allowed run. Shorter and straighter is better. Use metal duct, end at an outdoor hood, and avoid vinyl or foil accordion duct.
Related guides
Dryer Not Heating? 7 Causes and Fixes
A dryer that spins but stays cold usually has one of seven causes, starting with the vent. Here is the order to check them…
Dryer Fire Prevention: 8 Steps for Safer Laundry
Most dryer fires start with lint and a restricted vent. These eight steps, with a quick airflow test and a stop-and-call rule, keep the…
Oven Repair Cost in West Sacramento: What Sets the Price
Nobody can name your oven repair cost before someone looks at the oven. Here is what moves the price up or down, and how…