Microwave Installation: Over-the-Range and Built-In
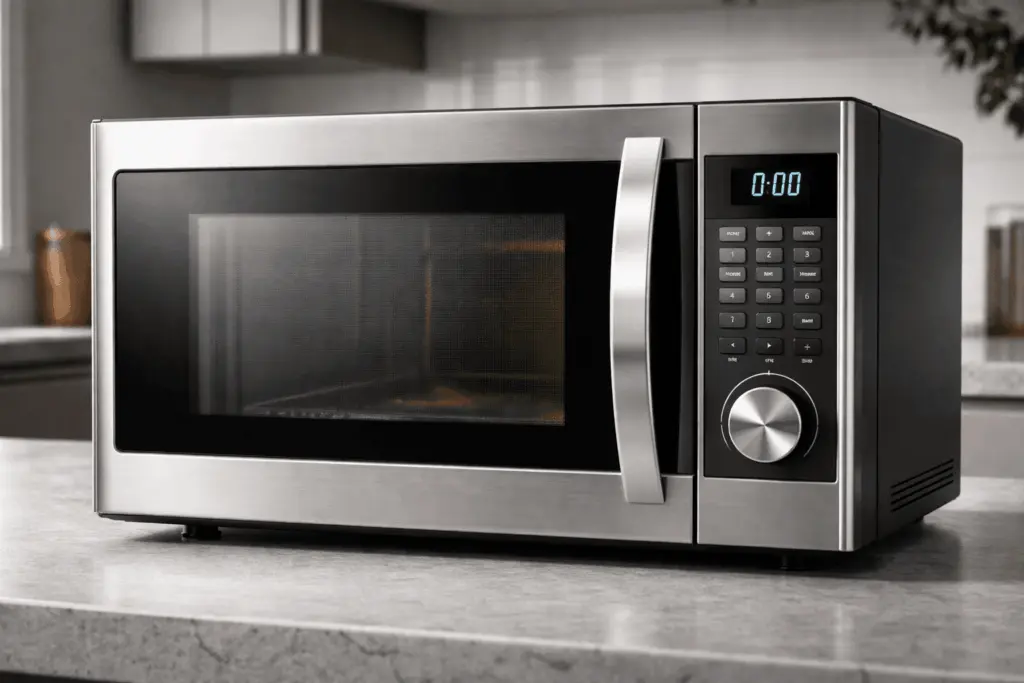
Microwave installation covers three very different jobs, and the one you have decides whether you need a professional. A countertop model needs an outlet and a bit of space. An over-the-range model needs a wall plate fixed into studs, a cabinet bolted from above, a vent and a power outlet. A built-in model needs a cabinet cutout and a trim kit. This guide compares the three and explains why microwave installation is worth hiring out when the oven sits above the stove in a West Sacramento or Sacramento kitchen.
Table of Contents
It is general information, not a substitute for the instruction sheet that comes with the oven. Always follow your model’s manual.
Three types of microwave installation compared
- Countertop. Place it on a stable surface with space around it for airflow, plug it into a nearby outlet and you are done.
- Over-the-range. It replaces the vent hood. It is heavy, fixed to studs, and has to deal with the heat and steam of the stove below.
- Built-in. It sits in a cabinet opening with a trim kit. The cutout size and the ventilation gap matter.
A drawer microwave is a fourth option, and it follows the built-in logic with a cutout in an island or base cabinet. The more the oven is built into the kitchen, the more a microwave installation becomes carpentry and electrical work.
Over-the-range microwave installation, step by step
This is the job people get wrong, because it combines weight, height and wiring. The sequence is the same for most brands:
- Check the space. Measure the width, the cabinet above and the clearance from the cooktop. The manual gives a minimum.
- Find the studs. The wall plate must be fixed into studs or the correct backing, because a microwave is heavy.
- Mark and drill the cabinet. The template in the box shows where the top bolts and the power cord pass.
- Fit the plate and lift the unit. Two people hang it on the plate, then bolt it from above.
- Connect the vent. Set the damper for ducted or recirculating venting, as the kitchen allows.
- Plug in and test. Check the display, the light, the fan on each speed, and run a cup of water to confirm it heats.
This kind of microwave installation is a two-person job. Never lift the unit alone. A fall could damage the unit, the stove, and whoever is underneath.
Studs, weight and the cabinet in microwave installation
Over-the-range models are heavy, and the weight hangs from the wall plate and the top bolts. Drywall alone will not hold it. If the studs are not where the template needs them, the wall needs backing, which is a carpenter’s job. A wobble at the plate is a reason to stop microwave installation, not to add more screws.
Before the day, clear the counter and the stove below, and lay down cardboard to protect the burners and the cooktop from drops. Have the manual, the template, a level, a stud finder and the hardware bag from the box ready. Take a photo of the old unit’s wiring if it is being replaced. One practical point is that a new model often has a different footprint from the old one, so the old holes in the cabinet or wall may not line up. Plan to patch and repaint if the plate sits differently.
Venting, electrical and clearance
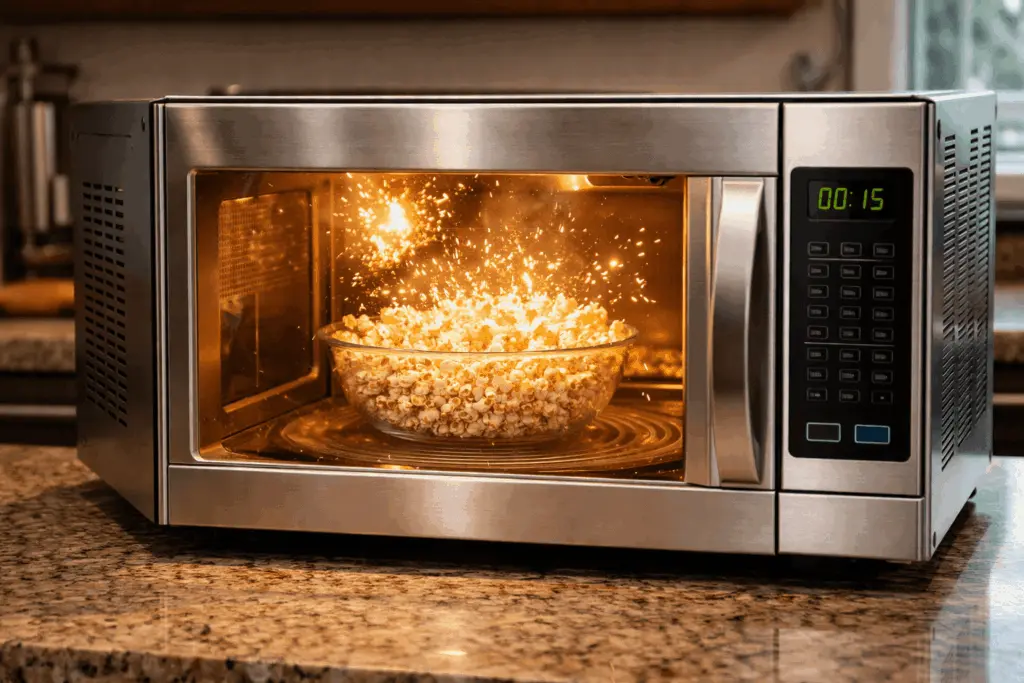
An over-the-range microwave doubles as the range hood. Recirculating mode pulls air through a filter and blows it back into the room, while ducted mode sends it outside through a duct in the wall or roof. The existing duct must match the position of the oven’s vent opening, and the damper setting must be right. Cooking fumes need somewhere to go.
The electrical side is just as important. Most models want a grounded outlet in the cabinet above or beside the unit, as the manual specifies, with no extension cord and no power strip. If there is no outlet, or the old one is not grounded, an electrician needs to fix it before microwave installation goes ahead.
The clearance above the cooktop is set by the manufacturer. Too low, and heat and steam damage the underside and the controls. Too high, and the controls are hard to reach. Follow the number in the manual, not a guess.
Safety is part of the job, not an extra. Switch the circuit off before you touch the old outlet or cord, keep the oven unplugged until it is mounted, and keep the packaging corners off the cooktop. If the stove below is gas, do not move it or touch the gas connection to gain room. That connection is for a gas technician.
Built-in and drawer models
For a built-in unit, microwave installation starts with the cutout. Check the width, height and depth against the oven and trim kit, and leave the ventilation gap the manual calls for. A cabinet that is a half-inch off is not a small problem. The oven must sit level and be supported from below, not hang from the face frame.
Trim kits are model-specific and often bought separately. Confirm the exact kit for your model before the oven arrives, so the day is not wasted. If the new built-in replaces a different brand or size, expect to modify the cabinet.
Why hire a pro for microwave installation
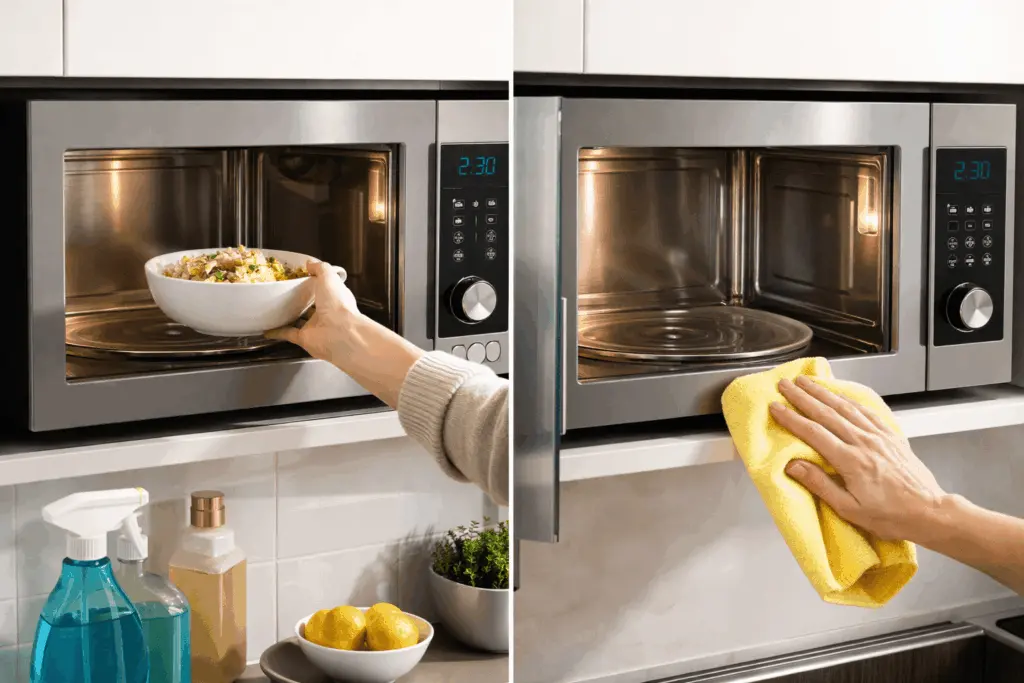
A professional brings the right fasteners and a second set of hands, and knows how to test the result. They also notice the things that cause trouble later, such as a cord pinched against the cabinet, a missing stud, or a vent that blows back into the room.
Our appliance installation service covers microwaves, and our technician works in West Sacramento, Sacramento, Davis, Woodland and the other towns we serve. If the old microwave is not working, check our microwave repair page first, because a repair may cost less than a new unit and its microwave installation. If the oven sits above a range, our range installation article covers clearances below it.
After any microwave installation, check that the door closes firmly and the oven runs only with the door shut. The U.S. Food and Drug Administration’s microwave oven guidance advises against using an oven with a damaged or poorly closing door.
When to stop and call
Pause microwave installation and bring in help in these cases: you cannot find studs, the outlet is missing or ungrounded, the cabinet above is damaged, the unit is above a gas range and the manual asks for a specific clearance, or the oven arrived with dents. Do not open the case of the microwave for any reason, because the capacitor inside can hold a charge.
To arrange a microwave installation, book online or call us, and tell us the model and whether it goes over the range or in a cabinet. The service call is $80.
Common questions
Do I need a dedicated outlet for a microwave?
Most built-in and over-the-range models are designed for a grounded outlet of their own, as the manual states. Do not use an extension cord or a power strip. If the outlet is missing or does not match, an electrician should fix that first.
Can an over-the-range microwave go anywhere above the stove?
Only if the clearance fits. The manual gives a minimum height above the cooktop and a space needed to the cabinet above. A unit mounted too low traps heat, and one mounted too high is hard to use and may miss the studs.
Does a built-in microwave need a trim kit?
Usually. A built-in microwave sits in a cabinet cutout, and the trim kit fills the gap and gives it a finished edge. Check the exact cutout size and trim kit for your model before you buy the oven.
Related guides
Microwave Maintenance: 7 Tips for Longer Life
Most microwaves die from grease, misuse or a worn door, not old age. Seven small habits of microwave maintenance, plus a short checklist for…
Microwave Not Working? 6 Problems and When to Call
A microwave not working usually falls into one of six patterns. Here is what you can safely check, what points to a failed part,…
Oven Repair Cost in West Sacramento: What Sets the Price
Nobody can name your oven repair cost before someone looks at the oven. Here is what moves the price up or down, and how…