Range Installation: 5 Steps and Mistakes to Avoid
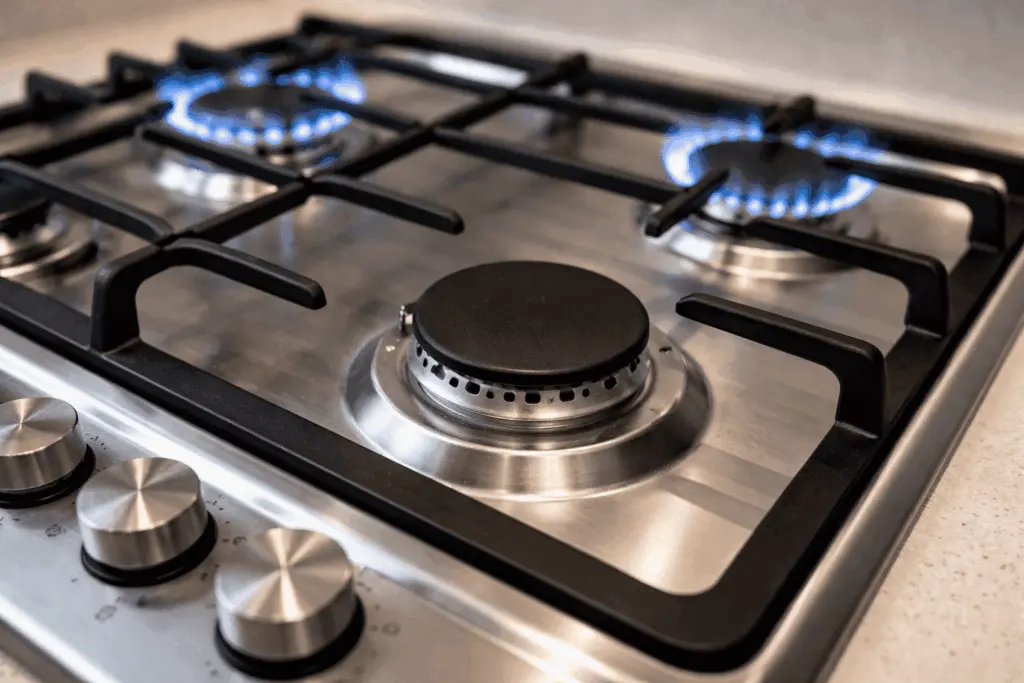
Range installation looks like a job of sliding a box into a gap, but the heavy part is the connection behind it. A range is either wired to a 240-volt circuit or plumbed to the gas supply, and it is tall enough to tip if it is not secured. This guide lays out the five steps of a proper range installation, where a homeowner should stop, and the mistakes that cause callbacks later in West Sacramento and Sacramento kitchens.
Table of Contents
If you only want to know who does this, our appliance installation service covers ranges, and our technician can also repair the old one first if it is worth saving. Read on if you want to know what a good job looks like, even if you hire it out.
Gas or electric: the first range installation decision
Every range installation starts with the fuel. A gas range needs a gas shutoff valve within reach, a flexible connector rated for ranges, and a regulator set for the right gas. An electric range needs a dedicated 240-volt circuit and a plug or terminals that match the cord. Dual-fuel models need both, a gas line and a 240-volt outlet.
Check what your wall already has before you buy. Swapping electric for gas, or the reverse, is not a plug-in job. Adding a gas line or a new 240-volt circuit is work for a qualified professional, and nothing in this article should be read as a way to do it yourself.
The 5 steps of a range installation
- Confirm the supply. Read the manual for the circuit size and cord type. For gas, find the shutoff valve and confirm it is accessible. Measure the cutout width and the depth of the counter run.
- Prepare the space. Switch the circuit off at the breaker or close the gas valve before the old range moves. Pull the range out gently, protect the floor, and check the wall and floor for damage, grease, or a pinched line.
- Make the connection. For electric, match the cord or terminals to the outlet exactly, with a strain relief where the cord enters. For gas, a technician connects the flexible line and checks it for leaks. Do not use old connectors on a new range.
- Secure and level. Fit the anti-tip bracket, slide the range back so the rear foot engages it, and level the unit with the adjustable feet so the oven bakes evenly.
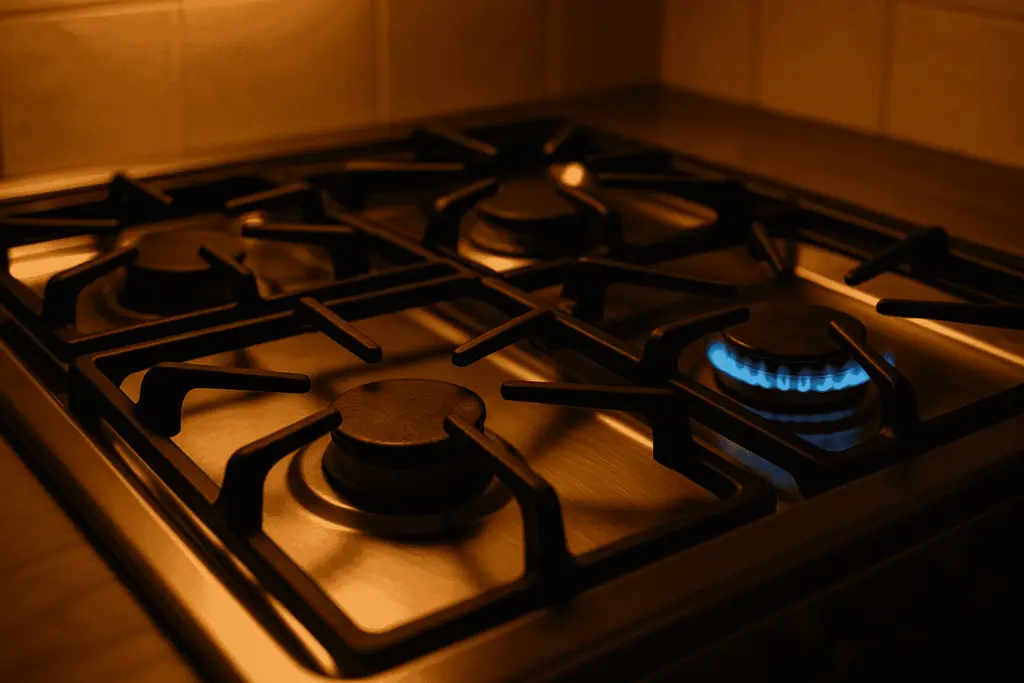
- Test everything. Light each burner or heat each element, run the oven through a short bake, confirm the clock and display work, and look at the flame color on gas. Steady blue is normal. A yellow, lazy flame needs attention.
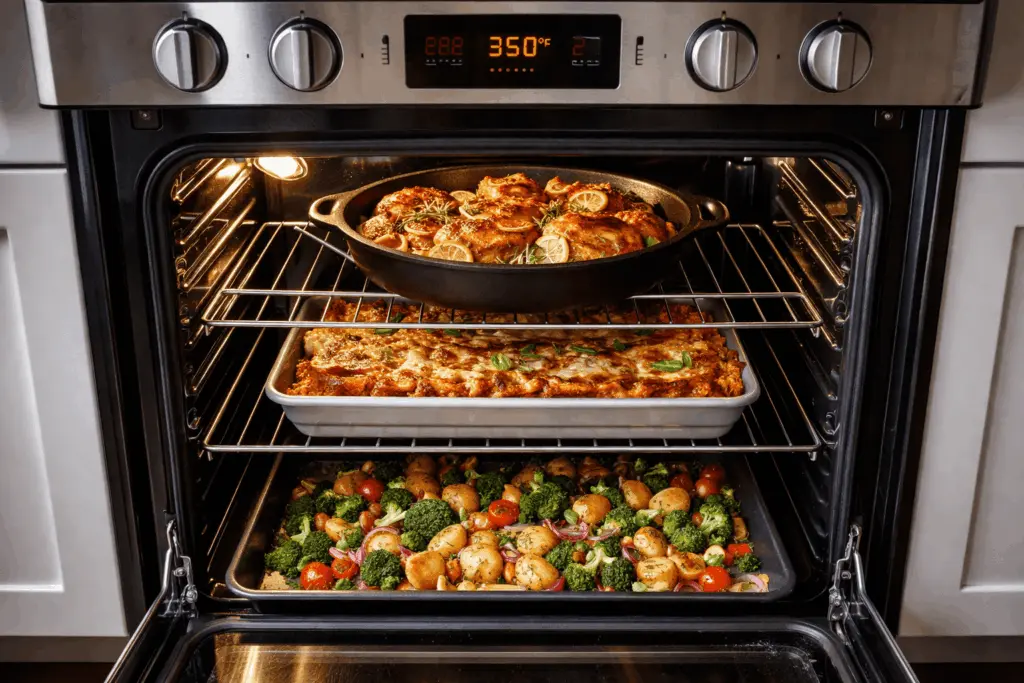
Take the time on step five. A range installation that passes the burner test but was never run through the oven can hide a fault until the first big dinner.
240V and clearance requirements for range installation
For an electric range, the circuit size and the cord type come from the manual, not from guesswork. Many homes have a three-slot or four-slot outlet, and the cord must match it. Never change the plug on a cord to make it fit unless a qualified person confirms the wiring. A loose connection at the terminals heats up over time, which is one of the quietest causes of a burned outlet.
Clearances and the anti-tip bracket in a range installation
The manual lists the clearance to side cabinets, to the cooktop surface above, and to the back wall. A cabinet that is too close or a microwave mounted too low above the cooktop can trap heat. If you are fitting an over-the-range unit as part of the same job, our microwave installation article covers the mounting height and venting.
The anti-tip bracket deserves its own paragraph. The U.S. Consumer Product Safety Commission has a range tip-over safety alert explaining that a free-standing range can tip when weight lands on an open oven door, and that the bracket must be installed and engaged. When a range installation leaves the bracket in the box, the kitchen is less safe than before.
Mistakes to avoid in a range installation
- Skipping the anti-tip bracket or fitting it but never engaging the rear foot.
- Reusing an old gas connector or flexible line on the new range.
- Forcing the range into a gap that is too narrow, which pinches the cord or the gas line.
- Not leveling the range, so cakes and pans slope.
- Changing the plug to fit the outlet instead of matching the supply.
- Leaving the shutoff valve hidden or blocked behind the range.
- Peeling off the tape and labels before checking the model number and serial plate.
- Skipping the test and finding a fault after the delivery crew has gone.
Most of these are cheap to prevent on the day and annoying to fix later, which is why a careful range installation is worth the time.
When to stop and call
Some situations are not for a homeowner. Stop the range installation and bring in a professional in these cases:
- You smell gas, hear hissing, or see bubbles at a joint. Leave the house, switch nothing on or off, and call the gas utility from outside.
- The outlet does not match the cord, or the breaker trips when the range is switched on.
- The old range was wired with aluminum, discolored or crumbling insulation, or a cord that is warm to the touch.
- The gas valve is stuck, leaking, or missing.
Never attempt gas-line or gas-valve work yourself. It is the one part of a range installation where a small error can hurt people.
Getting it done in West Sacramento
Before the day, clear the path from the door to the kitchen, empty the drawer under the oven, and measure the doorway. A freestanding range is heavy and awkward, and a scratched floor is a common complaint after a range installation. Put a sheet of hardboard or thick cardboard down for the move. If the range is going into a slide-in cutout, check that the countertop edge and backsplash leave room for the new range’s trim.
Write down the model and serial number of the old range as well. If something about the old connection looks wrong, a photo helps our technician plan before arriving.
We install ranges at homes in West Sacramento, Sacramento, Davis, Woodland and the other towns we serve, and we repair them too. If your range has been misbehaving before you replace it, check our range and stove repair page first. A repair may be worth more than a swap.
Tell us the brand, the fuel and whether it is free-standing or slide-in when you ask about range installation. That lets our technician arrive with the right connectors. For a range installation visit, book online or call us. The service call is $80.
Common questions
Can I connect a gas range myself?
We do not recommend it. A gas connection involves a shutoff valve, a flexible connector and a leak test, and a small mistake is dangerous. Have a qualified technician do the gas side. If you ever smell gas, leave and call the gas utility.
How do I know whether my kitchen has the right outlet for an electric range?
Look behind the old range or at the panel. An electric range normally needs a dedicated 240-volt circuit with the plug or terminal type listed in its manual. If the outlet shape does not match the cord, stop and ask an electrician.
Is the anti-tip bracket really necessary?
Yes. A range can tip forward when weight lands on an open oven door, and the bracket is what stops it. It ships with new ranges and should be fixed to the wall or floor and engaged by the range's rear foot.
Related guides
Oven Repair Cost in West Sacramento: What Sets the Price
Nobody can name your oven repair cost before someone looks at the oven. Here is what moves the price up or down, and how…
Microwave Installation: Over-the-Range and Built-In
Setting a countertop microwave on the counter is easy. An over-the-range or built-in unit is a different job. Here is what the work involves…
Microwave Maintenance: 7 Tips for Longer Life
Most microwaves die from grease, misuse or a worn door, not old age. Seven small habits of microwave maintenance, plus a short checklist for…